Thursday, January 16, 2014

Recycled T-shirt Rug


I am in the process of making a baby memory quilt for my daughter using her cute baby clothes. I mostly use the front of the shirts with the fun little appliques. I did not want to waste the rest of the clothes since they mean so much to us and we also like to recycle and repurpose as much as we can.

So, I went to work and I created a colorful rug for my daughter's room.
Besides being so pretty it is also meaningful because it is made with fabric strips from her baby clothes.


It's quite a simple DIY, albeit a little time consuming (it took over two days to finish) but it is worth the time and effort. This is a cute little wall art that we will be treasuring forever.

I started by cutting strips of fabric from my daughter's baby clothes. I did not feel too bad using her old clothes since they were quite worn out. I donated the ones that were still in good condition and I kept the ones that were stained and worn out. Those were the most loved and they were worn out by my daughter using them.

The strips were about 1 1/2 inches in width maybe 8-9 inches long. They were not perfectly equal because I wanted the spirals to be different size anyway.


The process of making the spirals is quite simple. Twist and sew. I used the same technique when I made my other recycled t-shit rug.


After the flowers were all done (I made around 50 of them), I set out to bind them together. I just sew them in a continuous circle, overlapping some of the flowers to cover all the gaps and to give a little more texture to the rug.


© 2012-2014 imakeeverythingmyself.blogspot.com All Rights Reserved

Wednesday, December 11, 2013

Repurpose a Sleep Sack into a Cute Pillow


The cute baby sleep sack is no longer used my now rambunctious toddler. Still a favorite, I could not just get rid of it so I repurposed it into a fuzzy pillow.

Sunday, December 8, 2013

Repurpose a Crib Fitted Sheet into a Pillowcase


Since we no longer use the crib fitted sheets, I decided it was time to repurpose them in some way. They did not get much wear to begin with and they were in perfect shape.
I turned them into colorfull pillowcases.


Saturday, November 23, 2013

Crochet a Toy Basket


This is a very simple basket crocheted in the half double crochet stitch. It is basically crocheted just like a hat (a very big hat). I used a smaller hook to make the basket more stiff.

I started with ten loops and I increased every row until I had 120 loops. 
First row I increased for every loop, second row I increased every other loop, third row I increased every third loop, and so on until I had the desired size. 


The next step is only going round and round in a circle crocheting the half double crochet stitch.


When I had the desired size, I made two handles and the basket was ready to fill with toys.


Sunday, November 17, 2013

How to Repurpose a Baby Activity Mat

I still had this activity mat from Fisher Price. It was quite enjoyed for a while, when my daughter was a baby. It snowed one day and I could not find the snow rug for wet shoes. I did find the baby activity mat and I thought to myself "hey, I could use this as a temporary snow rug!".


I put a rug pad underneath to prevent it from sliding and voilà ...


Sunday, November 10, 2013

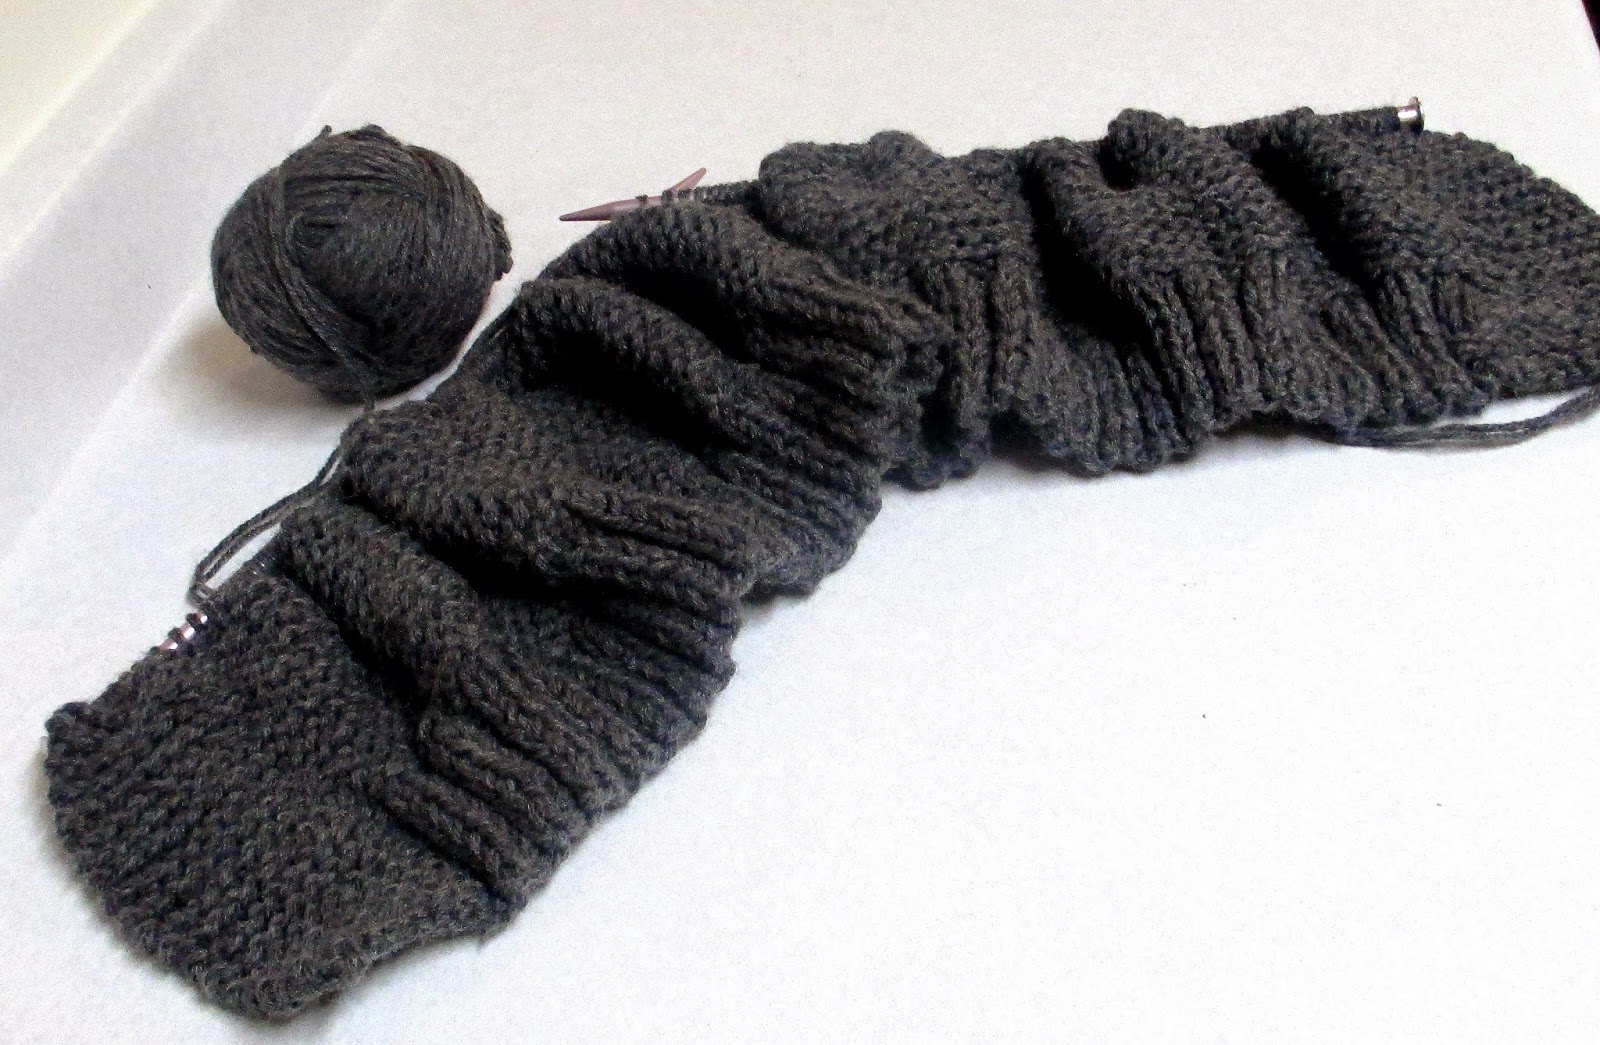
My Knitted Hat


Original Decor for a Little Girl's Room


 This décor is very inexpensive and really fun and unique.

With a few flower buttons that I already had in my sewing kit (leftover from another project) I created I wreath on my daughter's bedroom door.


Friday, November 1, 2013

Make your own Magnetic Pictures for the Fridge


Looking at my door fridge, I was so bothered by the mess I was seeing: pictures, vacation magnets, drawings, all cluttered on top of each other.

I decided it was time my fridge looked neat and uncluttered. I wanted to display pictures I love in a clean way so I can enjoy them.

1. Cut the self-adhesive magnet into the size of the picture.


2. Peel off the paper from the back of the magnet to reveal the sticky side. Stick the picture on the back of the magnet.


4. Display the new magnetic pictures for a nice, clean, and uncluttered look.

© 2012-2014 imakeeverythingmyself.blogspot.com All Rights Reserved