Wednesday, July 10, 2013

Repurpose a Diaper Bag into a Sewing Kit


The BabyBjörn diaper bag I had for my daughter when she was a baby was very useful. It is very well compartmentalized, you can find a place for everything.

I always said that I will repurpose it and use it as a sewing kit.


Sunday, July 7, 2013

Repurposed and Upcycled Baby Shoes


This is a pair of baby shoes size 4 that my sister gave my daughter as a gift. She only wore them a couple of times until they become too small for her. I wanted to save them as keepsakes but I also wanted to continue to use them in some way. They are very pretty ballerina shoes and they deserve to be displayed.
     

With a little imagination and some double sided foam tape I repurposed the baby shoes into crayons holders.

I taped the sole of the shoe to the wall using good quality double sided foam tape. It holds very well and, at the same time, the shoes can always come off the wall. The tape that I used peels off very easily without living any marks on the wall or the shoes.  


How to Repurpose a Baby Bib


This idea came to me when I needed a shower caddy for my daughter's shampoo, wash cloth, and rubber duckies. Coincidently, the same day I de-cluttered the kitchen cupboards and I noticed this cute bib made of plastic that my daughter never really liked. I punched a few holes at the bottom of the pouch (for the water to drain) and it became an instant shower caddie that brightens the room.


Repurposed pouch bib

Tuesday, June 25, 2013

Picture Perferct


In less than 10 minutes I made a nice vintage picture decoration.


1. I started with a painting canvas and a picture printed on regular paper


2. I added 1 teaspoon Elmer glue to a 1/2 cup water


3. I applied the glue mixture to the canvas until it was quite saturated


4. I put the printed paper on top of the canvas and I dabbed the picture lightly with a paper towel until it stuck to the canvas


5. For a vintage effect, I tore off the edges of the paper


The grains of the canvas show through the paper creating the effect of a real painting.


Saturday, June 22, 2013

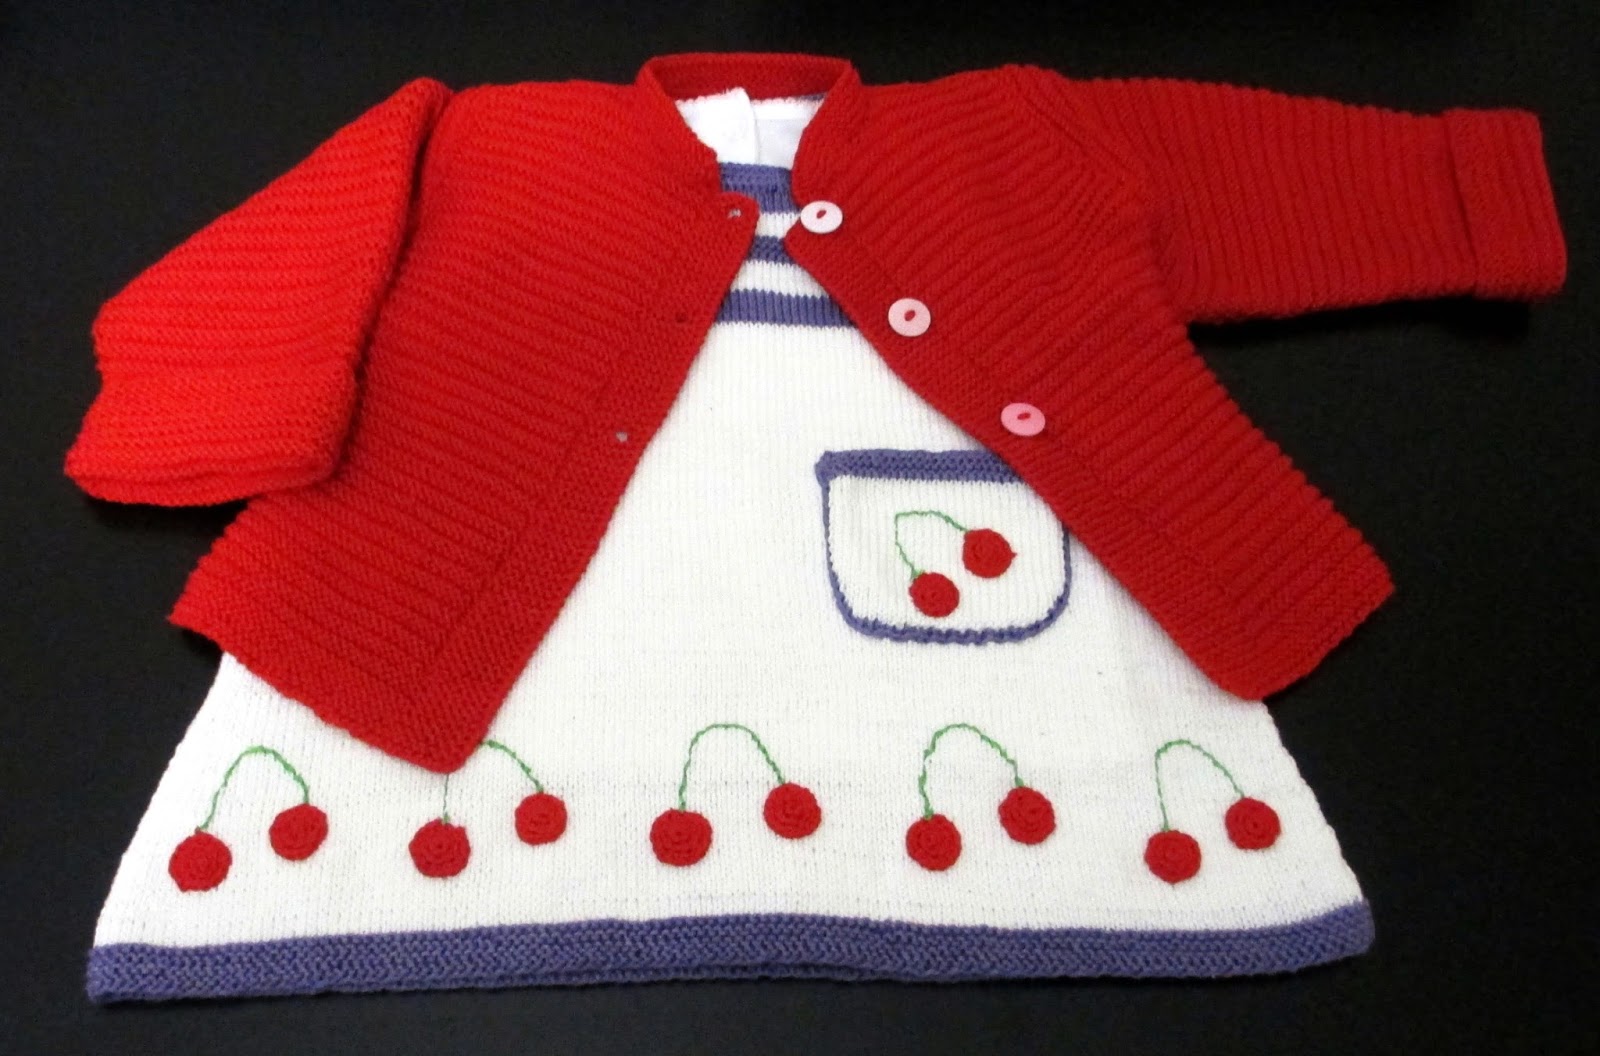
Knitted Cotton Dress and Cardigan

This is not my personal project. My mother-in-law knitted the cotton dress and the matching cardigan for my daughter. They turned out very well and I decided to feature them on my blog as a guest project.


It all started with this:


Tuesday, April 9, 2013

T-shirt Rug


This is not a quick project but it's very simple to do and it only requires basic sewing skills. I usually watch TV and I stitch away.

First, I plan to make all the rosettes and afterwards to sew everything together in a nice pattern.

I cut strips from the t-shirt (3-4 inches wide).


I started to twist the fabric and to stitch it as I went along. Twist and stitch, that's all there is to it.


Tuesday, March 19, 2013

How to Repurpose a Boppy Pillow


Turn the old Boppy Pillow into a decorative pillow in just a few steps.

My daughter's old Boopy needed another purpose. I initially put in on the couch but it had quite an odd shape. It did not look good as decor and it was not really serving the purpose of a comfy couch pillow. With a few transformations, it's become a great modern pillow.

1. Find some ribbon or some thick string that matches the pillow cover.
 

2. Try to roll the pillow into a circle and mark the spots where the ends of the pillow meet the inside.
 

3. Attach a piece of ribbon (about 10-12 inches long) to the four spots marked on the pillow case (I quickly hand stitched mine).


4. Tie the strings together and you have a modern decorative pillow.
 

Sunday, March 17, 2013

Repurpose Small Toys


Quick repurposing DIY is always fun! It is very rewarding to turn old beloved toys into keepsakes and to recycle at the same time.

Here is an easy and quick solution for old small toys.

1. Find some small toys that haven't been played with in a while.
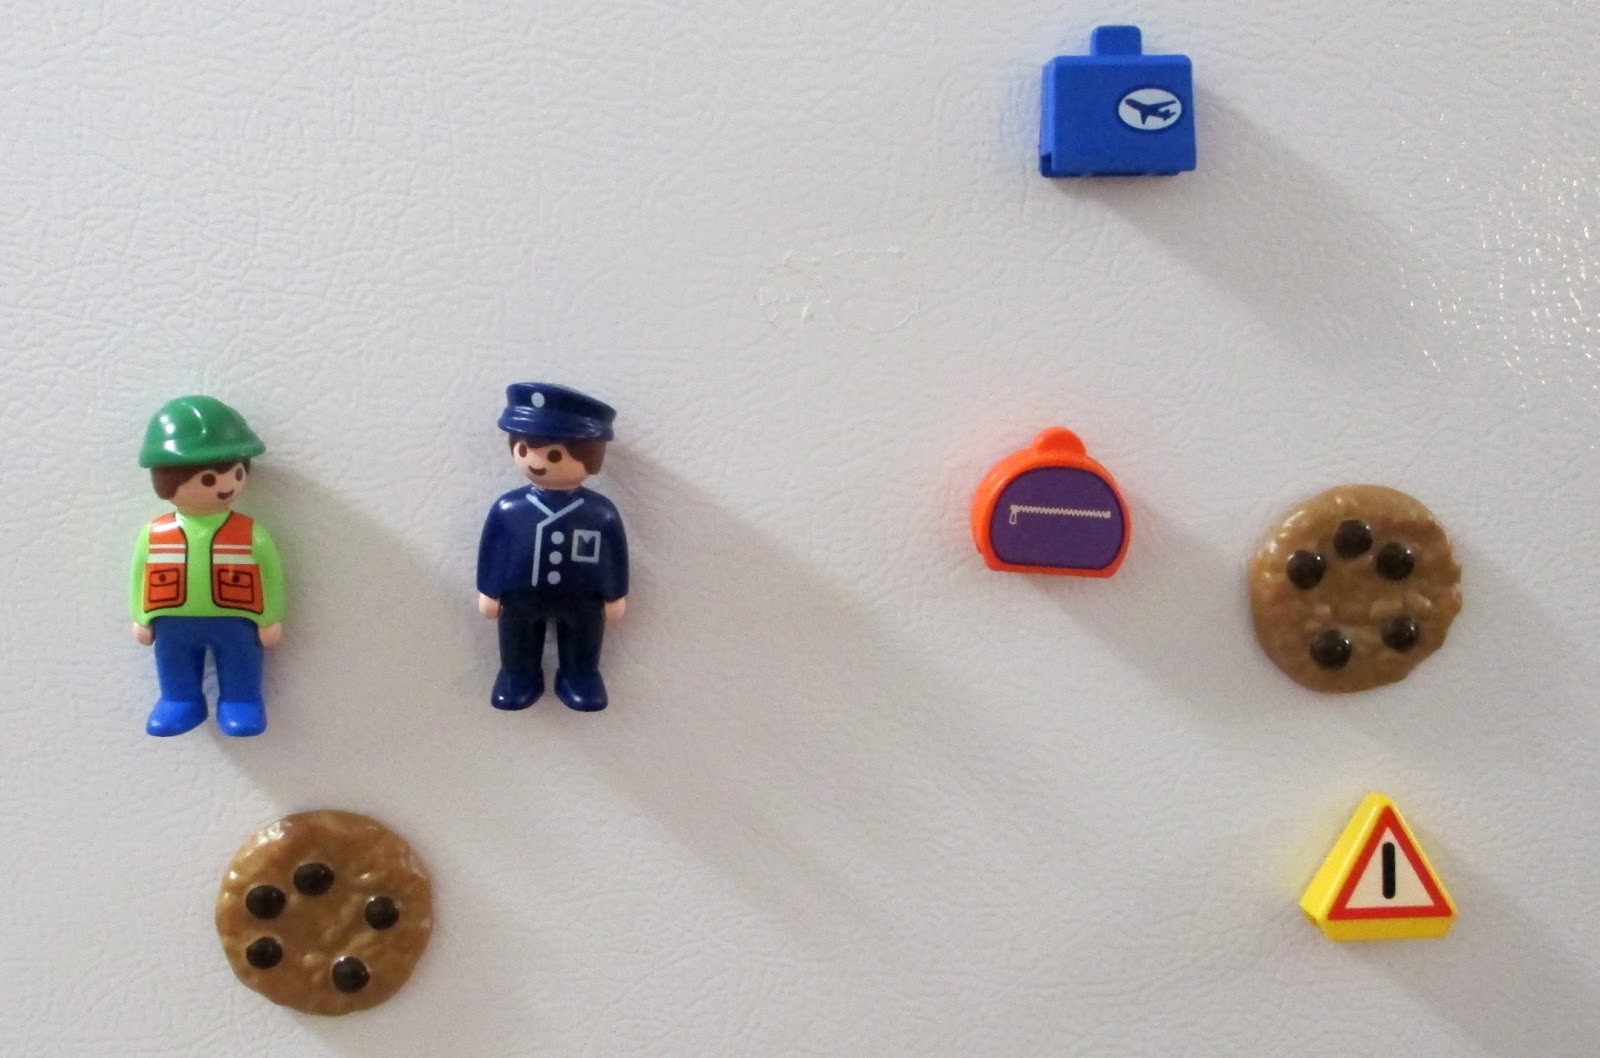
 

2. Get some inexpensive self adhesive magnetic sheets.
 

3. Cut strips from the magnetic sheets (for better adherence, the strips have to be big enough to cover the back of the toys).
 

4. Use the new magnets to display kids pictures and their art.


Monday, March 4, 2013

Baby Proofing DIY


It is a very quick project and it involves very little skill. It works very well, it holds the doors together very tightly and it prevents my daughter from hurting her fingers. It is easy to fasten and equally easy to unhook when I need something from the cupboards.

1. I removed the old ribbon (I would have used it but it was two inches too short for what I needed).

2. I measured and cut a piece of very sturdy grosgrain ribbon. It is very important to cut it two inches longer than necessary so it can be folded over when it's sewn.


3. I sewed the two ends of the ribbon to the fastener using a thick and strong thread (I used cotton embroidery floss).


4. Baby proofing device ready to use.


This DIY project only took me 15 minutes (I took the time to measure correctly and to double stitch the seems). It did not cost any money and the plastic fastener was repurposed instead of ending up in the landfill.

© 2012-2014 imakeeverythingmyself.blogspot.com All Rights Reserved